The Modifications to the GD3.
The photo below shows the stock Fit before it all started in 2011. It was only supposed to get lowering springs and new wheels & tires…

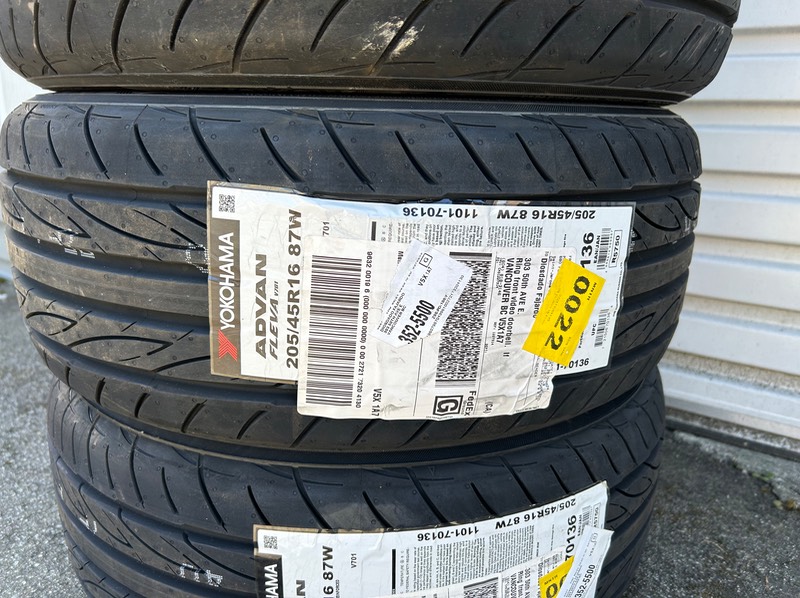
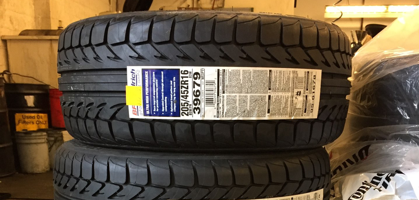
Yokohama ADVAN Fleva V701
I bought new summer tires. Yokohama ADVAN Fleva V701’s from Quattro Tires in 205/45R16
$191.80 each regular price. 10% rebate brought that down to $172.62 each. $802.45 for the set taxes in. Free shipping.
Purchased 13-Mar. Delivered by FedEx 21-Mar. Arrived loose.
Mounted & balanced on the Enkei RPF1’s at 1010Tires.
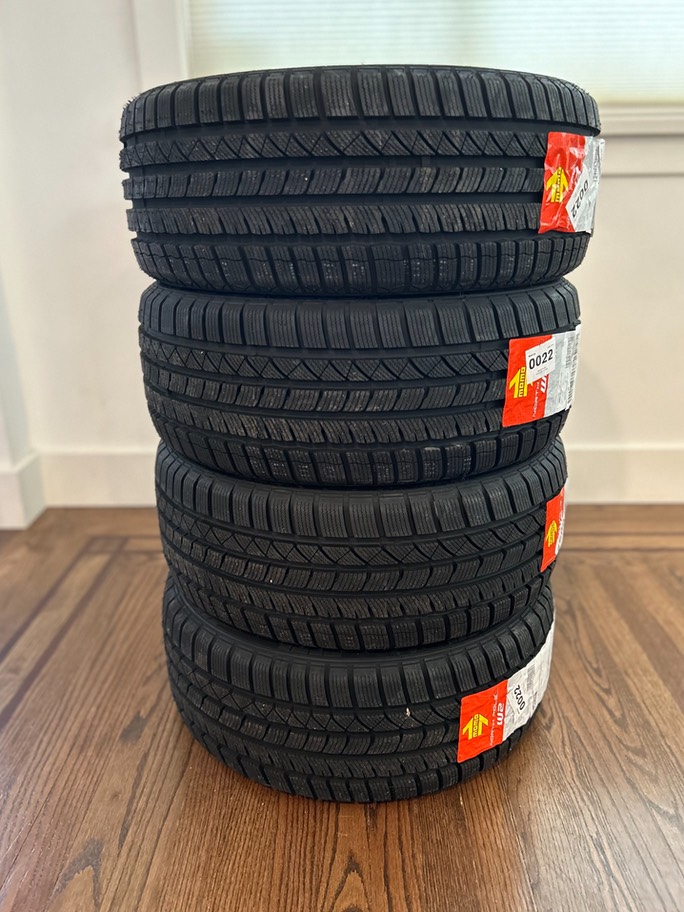
MOMO North Pole W-2
Purchased new snow tires from Quattro Tires.
MOMO North Pole W-2. 205/45R16’s
Very affordable! They’re made in China but the reviews are good.
$110.19 each with free shipping. Total was $491.37
Mounted & balanced on my Rota Slipstreams at 1010Tires Vancouver.
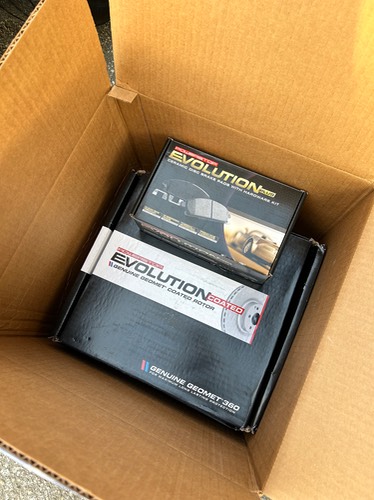
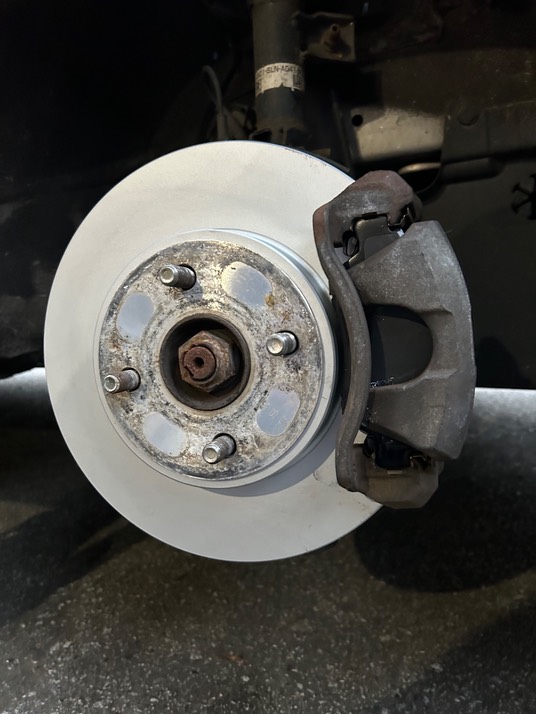
POWERSTOP CRK694 Rotor & Pad Kit
465,470 km
Left front brakes started squeling Friday September 29. Within 24 hours it started squealing constantly. Metal scrapping sound.. and I was pretty sure the pads are gone. I should have ordered the brake kit in August when RockAuto had a rebate on POWERSTOP. Stupid error.
Ordered on September 30. $123.34 + shipping + tax. DHL shipping (& duty) was $62.48. Arrived Tuesday October 3 at 2pm. Day was dry so installed!
CRK694 Kit includes:
JBR522EVC Evolution Coated Rotors
17621 Z17 Evolution Ceramic Pads
Straightforward install but I had to go out and pickup a 6” C-clamp to compress the brake piston. Started at ~4pm and finished in about 4 hours not including the break-in run.
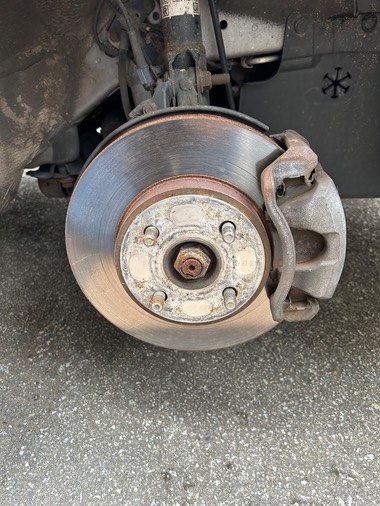
Break-in was 30 stops from 50km down to 5 km with a minimum 30 second rest between stops.
Infinity Speakers Part 2
218.090 km
I ordered a front & rear set of Infinity Reference Speakers from Crutchfield.com back in November 2018. It cost $180. USD shipped to Point Roberts. This also included application specific Metra speaker brackets & wiring harnesses for no additional charge.
Today I installed the Infinity Reference 6530CX 6.5” Component System in the front doors. The Crutchfield Instructors were very helpful and with my experience from the rear doors, installation was straight-forward..
The tweeters fit in the stock mount location perfectly. No modification required.

I was not able to use the speaker baffles as it went in too deep in the door and interfered with the window. The baffles cleared fine in the rear doors.

The new speakers sounds GREAT! Although, I do hope it’s my ears and not my mind convincing me of the crisp audio I’m experiencing.
Infinity Speakers Part 1

I ordered a front & rear set of Infinity Reference Speakers from Crutchfield.com back in November 2018. It cost $180. USD shipped to Point Roberts. This also included application specific Metra speaker brackets & wiring harnesses for no additional charge.
Today I installed the 6.5” rear speakers (REF-6532ex). The Crutchfield Instructors were very helpful. I did the the rears first as the fronts will be a little more complicated since they are component speakers.
Given how the OEM speakers looked, I’m honeslty surprised they sounded decent. I’m looking forward to getting the front 6.5” Components installed.

Significant difference in material and component size/quality.

Pioneer Receiver
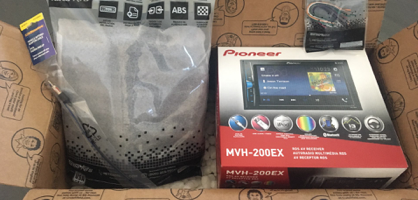
Finally pulled the trigger and bought a Pioneer MVH-200EX Digital Multimedia Receiver from Crutchfield. Touch screen and does NOT play CD’s. I would have preferred a dial for volume control but the available models were so much more money..
I purchased from the US .com website for $169. (USD) along with the Metra 99-7872 Dash Kit, 70-1722 Receiver Wiring Harness and40-HD10 Antenna Adapter. The entire install kit was only $12.97 USD. From the .ca website it’s $250. and $28. respectively. Shipping is Free from both sites but I saved on the GST, PST and recycling fee!
The Metra Kit was pretty nice. Fit & finish was pretty decent, say 8-9/10 compared to Honda OEM quality. Installation was relatively straightforward. The instructions were quite helpful. I also used an APPS2Car Parking Brake Bypass from Amazon.ca. I may also wire the stock AUX port in the centre console to the deck. For now the AUX cable is hidden under the dash. Not a priority as Bluetooth and USB covers 99% usage.
Enkei RPF1
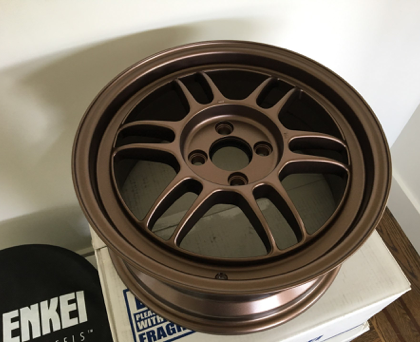
Since I relegated my Rota Slipstreams for winter use, I was in need of new 16” summer shoes.
I decided to go with some higher quality wheels. My choice was the classic Enkei Racing RPF1. Made in Japan. Classic. Light weight cast wheels. Forged was not in my budget. I would have preferred to source them in Canada, but I wanted them in Bronze. And only TireRack.com seemed to carry them in Bronze.
I placed an order with TireRack.com on March 26. I called them back on the 27th to check if they included the Enkei valve stems. They did NOT. The order did include plastic hub-centric rings and black 35mm lug nuts but no valve stems. Ok, adjusted the order to include them ($11. each). They arrived in Point Roberts on March 30. They created a separate order for the valve stems and shipped them to me. It turned out they also dropped a valve stem in each wheel box. So, I’m ending up with two sets of valve stems. Since it was their mistake, the TireRack credited me the cost of the stems, as the cost of shipping would exceed the value. Great customer service!
UPDATE: April 5, 2018
I had my BF Goodrich G-Force Sport Comp-2 mounted on the RPF1’s at 1010Tires Vancouver.
$25. a tire plus taxes. Now they’re ready to go on the GD3!
Wheel & tire weights 33.2 lbs. on my scale. Tirerack advertised weight for Sport Comp-2 is 21 lbs. That leaves 12.2 lbs. for the wheels. I did not record the weight of the wheels only. Enkei advertises the 16x7 +35 4x100 at 13.7 lbs.
Wheel spacers
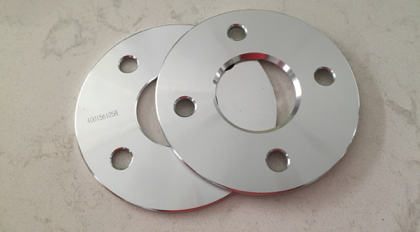
I decided to add thicker spacers on my rear wheels. They previously had 3mm spacers.
The details:
5mm Hub Centric Aluminum (6061 T6) wheel spacers 4x100 56.1 CB
I moved the 3mm spacers to the front wheels. Now my effective offsets are:
Front 16x6.5 +42
Rear 16x6.5 +40
Clearance is still good.
BFG G-FORCE SPORT COMP-2
My Yokohama S.drives needed replacing. One had a flat and all where at or near the wear bars. I was just going to get another set of S.drives in 205/45R16, but a co-worker directed me to KalTire Vancouver (8130 Ontario St). They’re conveniently close to home and I got a decent deal on the BF Goodrich G-Force Sport Comp-2. These are a newer tire than the S.drives and performed better in the TireRack.com comparison with other Ultra High Performance Summer Tires. I also checked the TireRack.com specs of the BFG’s to ensure they were at least as wide as the Yoko’s. They were. They cost less than the S.drives. And the comparison test showed the Sport Comp-2‘s came out ahead of the Bridgestone Potenza RE760 Sport, the Dunlop Direzza DZ102 and the Yokohama S.drive (in that order). Sold. The Sport Comp-2’s cost $138.10 each. And I’m supposed to receive a $50 Mail In Rebate from BFG.
I was pretty happy to have my 16” wheels & summer shoes on the GD3 again. I love how the car feels “serious” again.
Wheel & tire weights:
31.0 lbs. - 15x6.5 Rota Circuit 10 with 195/55R15 Falken Eurowinter HS439
33.6 lbs. - 16x6.5 Rota Slipstream with 205/45R16 BFG G-Force Sport Comp-2
Tirerack advertised weight of 21 lbs. for Sport Comp-2; equals a 12.6 lb. wheel
UPDATE: May 2, 2016
Unmounted, the tire shoulders looked rounder than the S.drives. But once mounted on the tires, I’m pretty happy with with how square and beefy the Sport Comp-2’s looks. The important thing is how they felt.. grippy! The Tirerack.com review mentioned tread noise. In all honesty, I can’t really tell. So, right now I have zero complaints about the tire. They haven’t really been driven aggressively in rain yet so we shall see about wet traction.. but they’re supposed to be very good in that respect.
New spark plugs
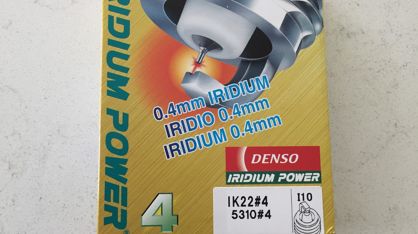
I bought a set of Denso Iridium IK22 (5310) spark plugs. I bought it off eBay from Titan Motorsports, Inc. for $27.88 USD. It ended up costing $42.45 USD including shipping and importing.
Installation was easy as I purchased a 5/8” spark plug socket and an 3/8” ratchet extension (6”). Installed finger tight, then 1/4- 1/2 turn of the socket. I did use anti-seize (very sparingly) on the plugs. I chose not to use dielectric grease on the ceramic sections of the plugs as the stock plugs did not have them. I unplugged the battery to reset the ECU.